- 28.05.2021
- 2229 Views
Copy & Paste
When working with a computer, in many cases, such as when writing a thesis, working on a project, developing software, or even writing an email or message, the most popular and frequently used basic computer feature is Copy & Paste. Thank you to Larry Tesler and Tim Mott for this discovery.
"Piled Higher and Deeper" photo by Jorge Cham www.phdcomics.com
Operating systems store copied (or cut) data in a temporary memory called the "Clipboard." The Clipboard can store a variety of data types, including text, images, videos, files, and folders. In current operating systems, objects copied can be stored in multiple formats at the same time. The software you use includes algorithms that determine which formats to store the data in when copying and which format of data to paste when pasting. Office software also offers the opportunity for users to select which type of data to paste using the "Paste Special" command in case of need.
Two of the most well-known and commonly used shortcuts are those used for copy & paste. In the MacOS operating system, the shortcuts Command + C and Command + V trigger the copy and paste commands, while in Windows, the shortcuts Ctrl + C and Ctrl + V do the same.
Status in FileMaker
Copy & paste support is available in many sections of FileMaker Pro. In the application you have created, you can copy an field in the "manage database" section, an object in a layout where you design screens, a script, or a script step and paste it into another section of the same project or a different project.
In FileMaker 19, the following components support the copy & paste feature:
- Tables
- Fields
- Scripts
- Script Steps
- Custom Functions
- Custom Menus
- Value Lists
- Themes
- Design Objects (Field, button, portal, text, tab/slider...)
The following components do not support the copy & paste feature:
- Layout
- User Account
- Priviledge Sets
- External Data Sources
While using FileMaker Pro, you can copy and paste supported components smoothly. After copying a component in FileMaker, you cannot paste it into applications outside of FileMaker. FileMaker uses its own data types in the panel, and the panel data type created for each component is used.
Data types are given in the following table for Mac and Windows.
|
Mac
|
Windows
|
Açıklama
|
|---|---|---|
|
dyn.ah62d4rv4gk8zuxnqgk
|
Mac-XML2
|
Layout Object
|
|
dyn.ah62d4rv4gk8zuxnxkq
|
Mac-XMSC
|
Script
|
|
dyn.ah62d4rv4gk8zuxnxnq
|
Mac-XMSS
|
Script Step
|
|
dyn.ah62d4rv4gk8zuxngm2
|
Mac-XMFN
|
Custom Function
|
|
dyn.ah62d4rv4gk8zuxngku
|
Mac-XMFD
|
Field
|
|
dyn.ah62d4rv4gk8zuxnykk
|
Mac-XMTB
|
Table
|
|
public.utf16-plain-text
|
CF_UNICODETEXT
|
Custom Menu
|
All of these data types, whose names are different, are essentially XML data. Seeing and even manipulating this XML data with a tool can have a lot of potential.
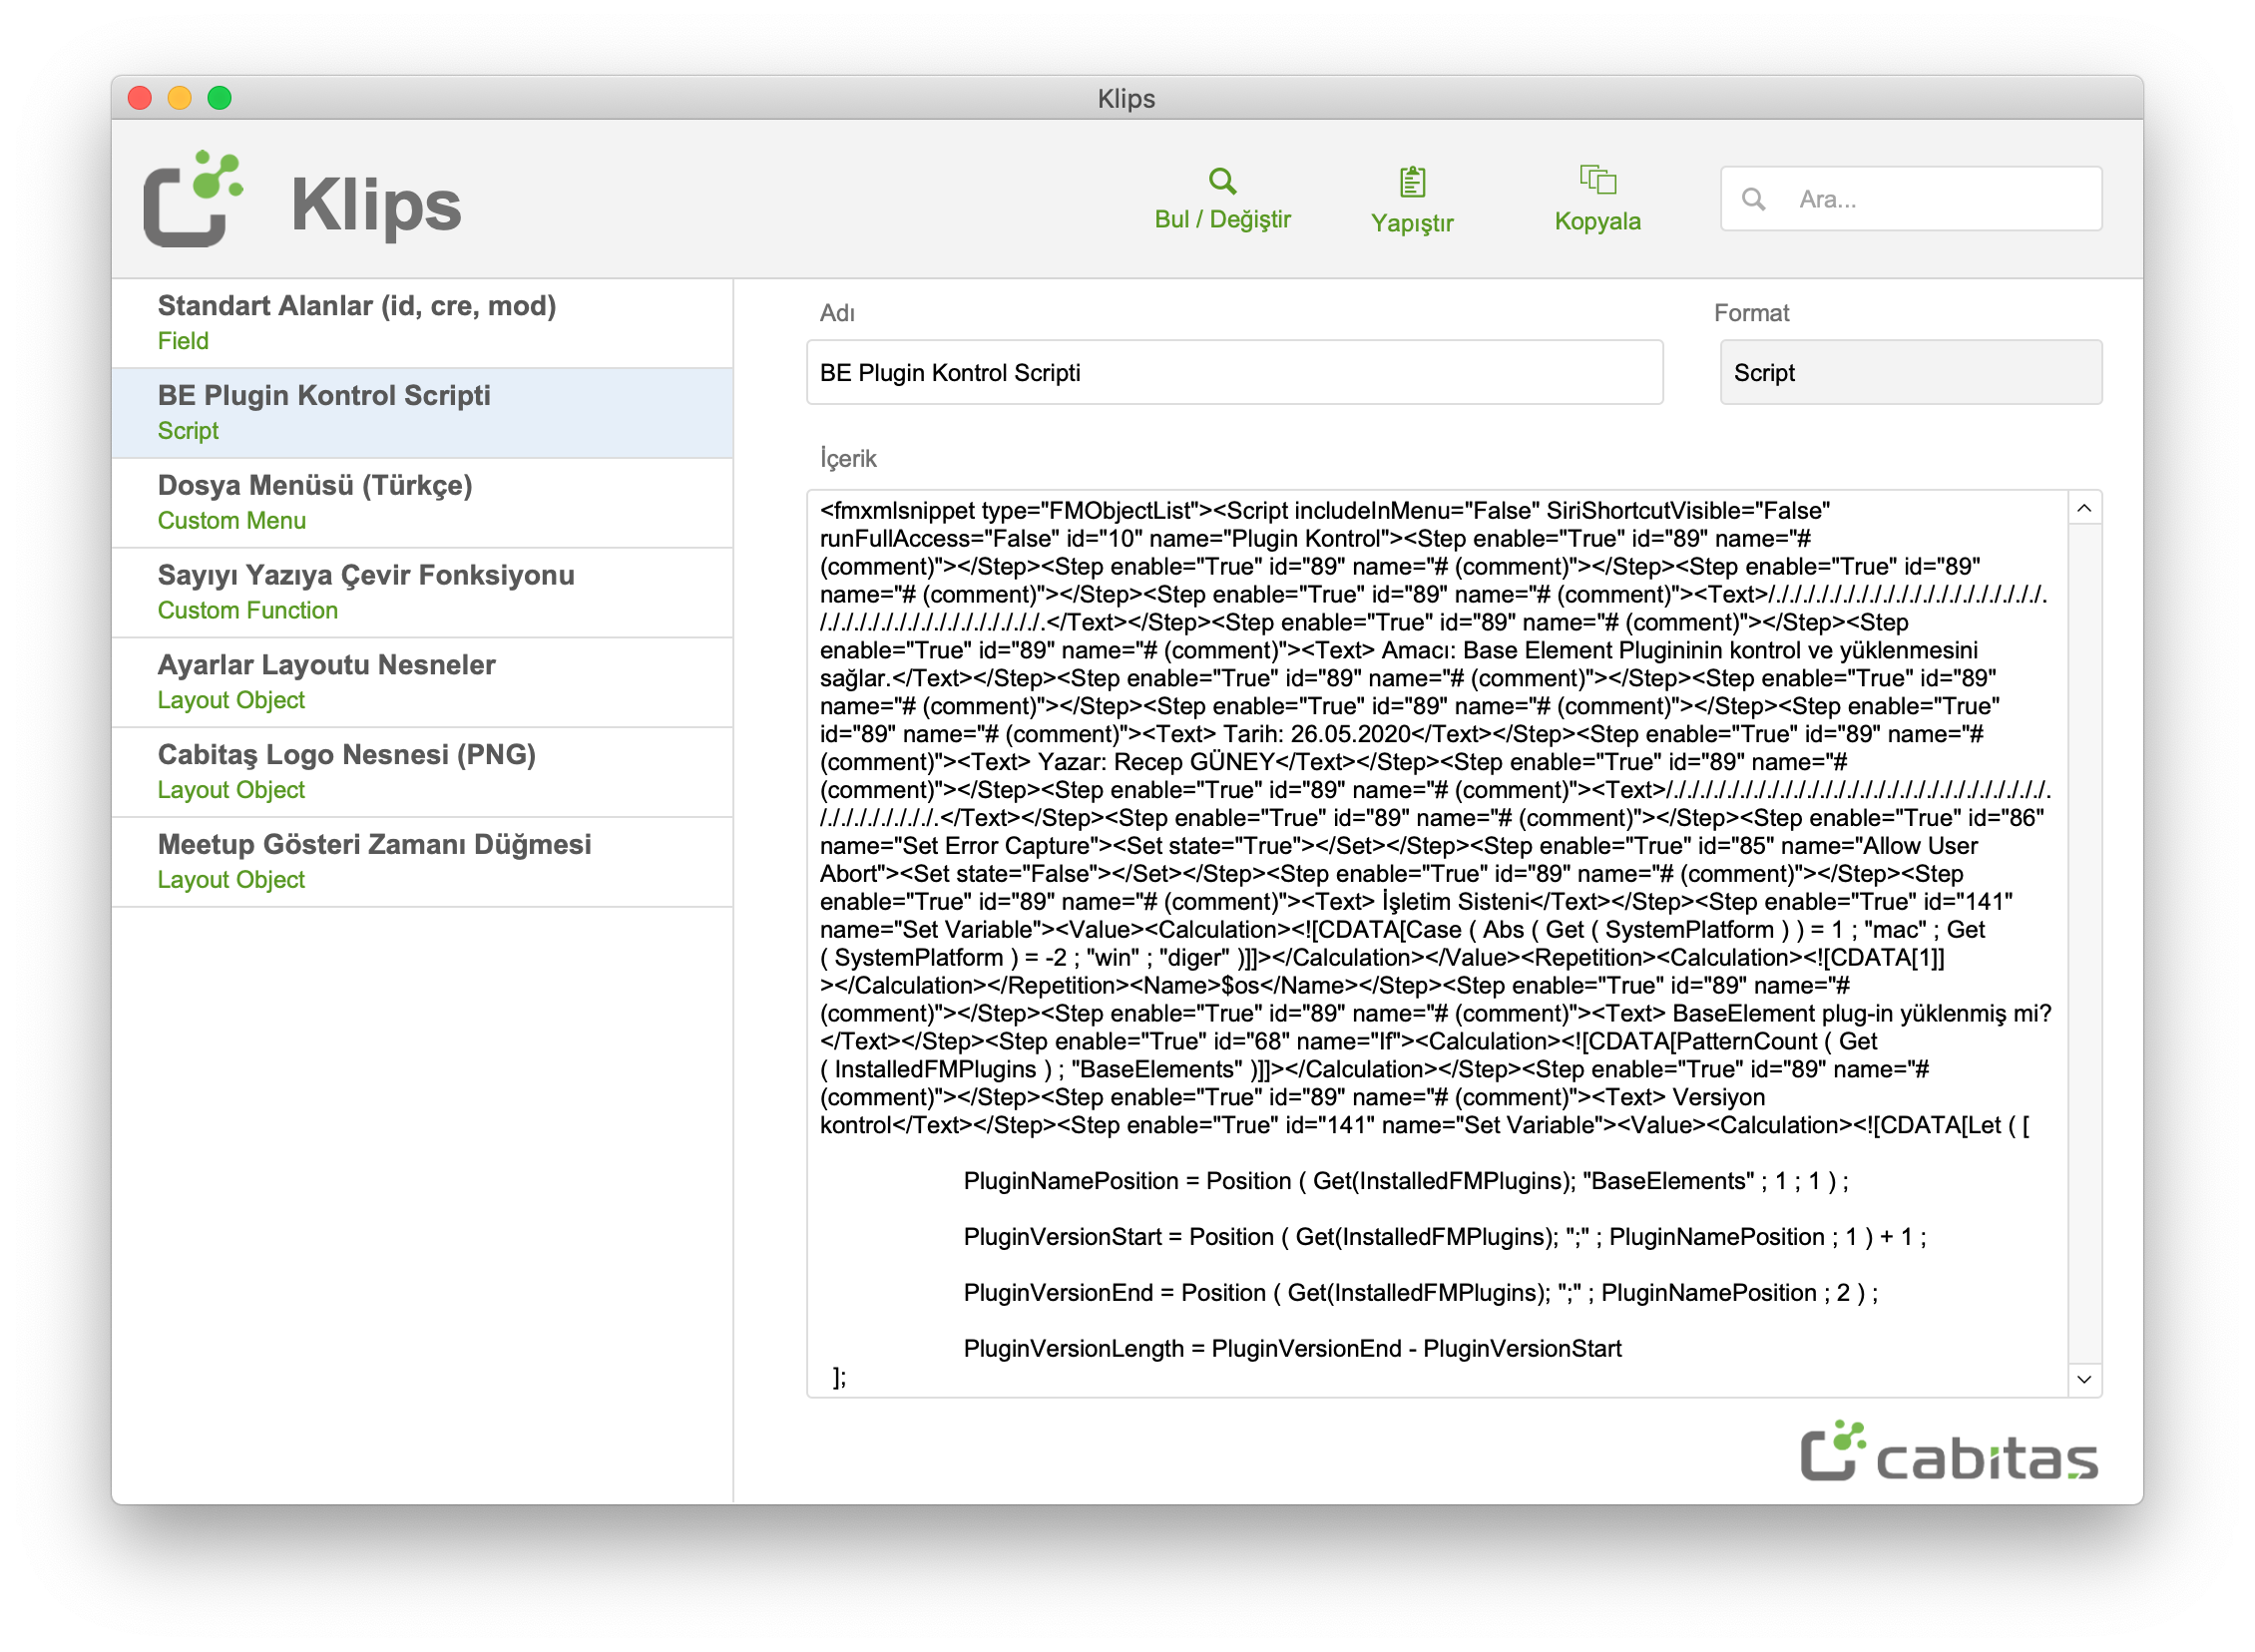
Klips
At this point, you can manage the data in the clipboard of FileMaker components using the free Klips tool, which we have made available to FileMaker Developers and developed in FileMaker. Simply put, when you give the paste command on an element copied in FileMaker, Klips opens a new record and displays the XML data. If the element is needed, the Copy button places the information in the panel in the way that FileMaker will understand. Moreover, after making a few changes to the structure without disrupting the XML, it also writes the information in the panel in the exact format that FileMaker wants.
As the Cabitaş team, we have many examples of how we have reduced processes that would take tens of minutes to seconds by benefiting from Klips. As a FileMaker Solution Partner and FileMaker Representative in Turkey, we share Klips for free with individuals in Turkey who develop software or systems with FileMaker.
Here are some examples of how Klips can be used:
- You can use Klips to archive frequently used elements. For example, after saving your custom functions, standard fields, and scripts to Klips, you can copy and paste them into new projects through Klips. This can save time and effort in the development process.
- You can easily change the variable name used in different lines of a long script.
- Klips allows you to replace resources when copying and pasting between projects. For example, let's say you use similar tables in both an old and a new project for similar purposes, but with different table names. When you copy and paste the script, it will paste as "table missing" because it cannot find the relevant table name. Klips will allow you to update the hidden table name within the XML data you bring into the panel, allowing for a smooth transfer.
- Similarly to the above, Klips allows you to easily copy and paste similar elements between modules within the same project. For example, you may need a script similar to "make customer inactive" in the customer module in the supplier module. The only difference may be the table occurrences (TOs) you will use. With Klips, you can quickly prepare the script for the other module by changing the table occurrence names in the copied data.
- You can invalidate the limits set in the FileMaker interface with XML manipulation using Klips. For example, you can add up to 50 segments to a button bar using the interface in FileMaker Pro layout mode. If you manipulate the XML content of the button bar taken into the panel and then re-insert the increased number of segments into the FileMaker design using Klips, the 50 limit will be invalidated.
Cabitaş Mini Claris FileMaker Tutorial Meeting: Klips
In one of our weekly technical and educational meetings announced through the Meetup platform, we examined the Klips tool and explained its use with simple applications. You can watch our Meetup video to see how to use Klips.
How to use Klips?
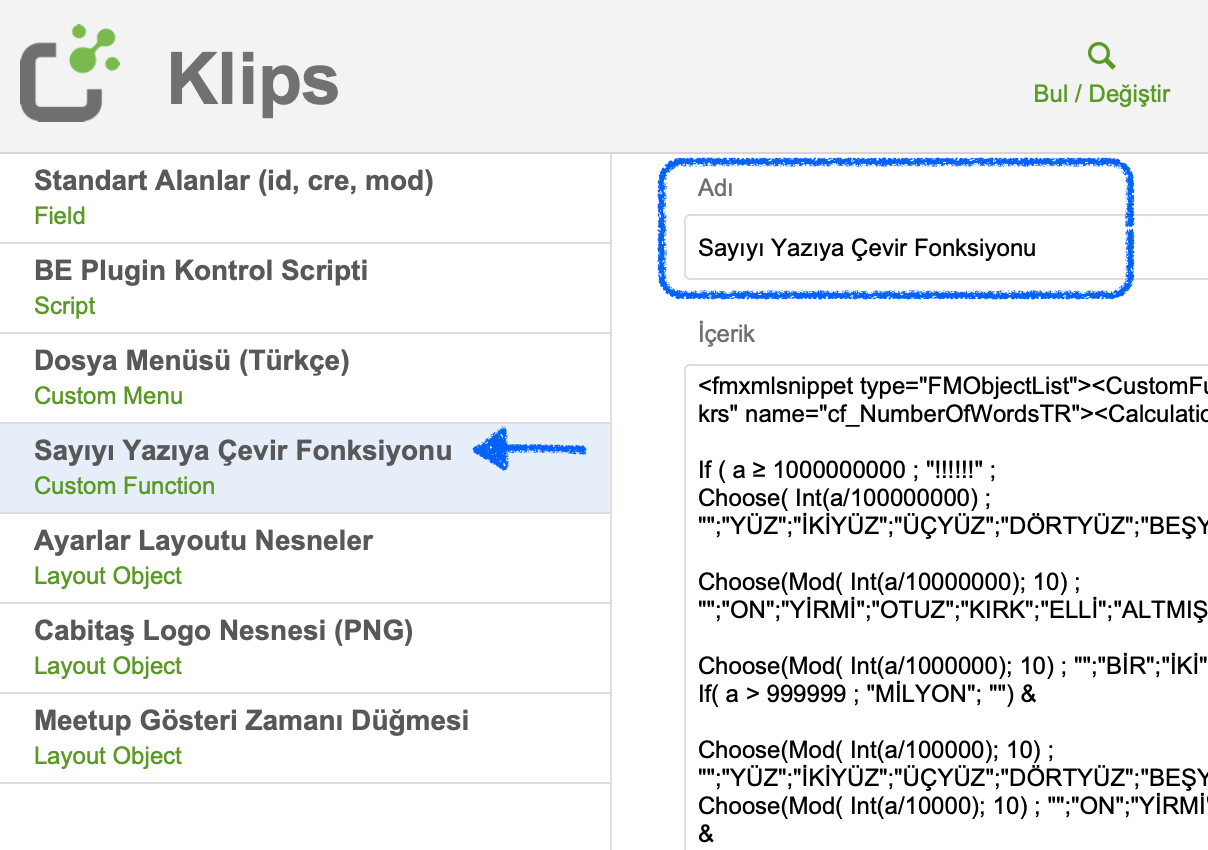
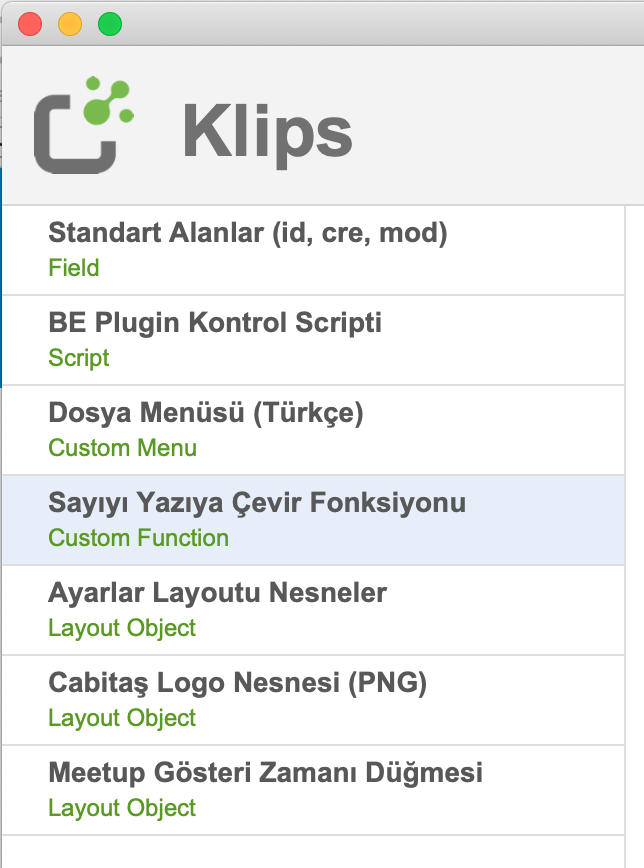
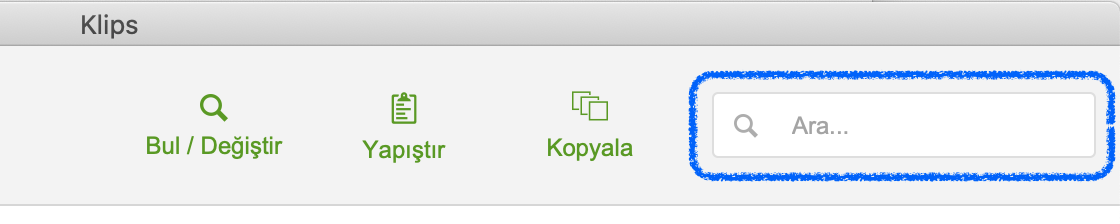
Klips greets you with a simple interface as you see photo below.
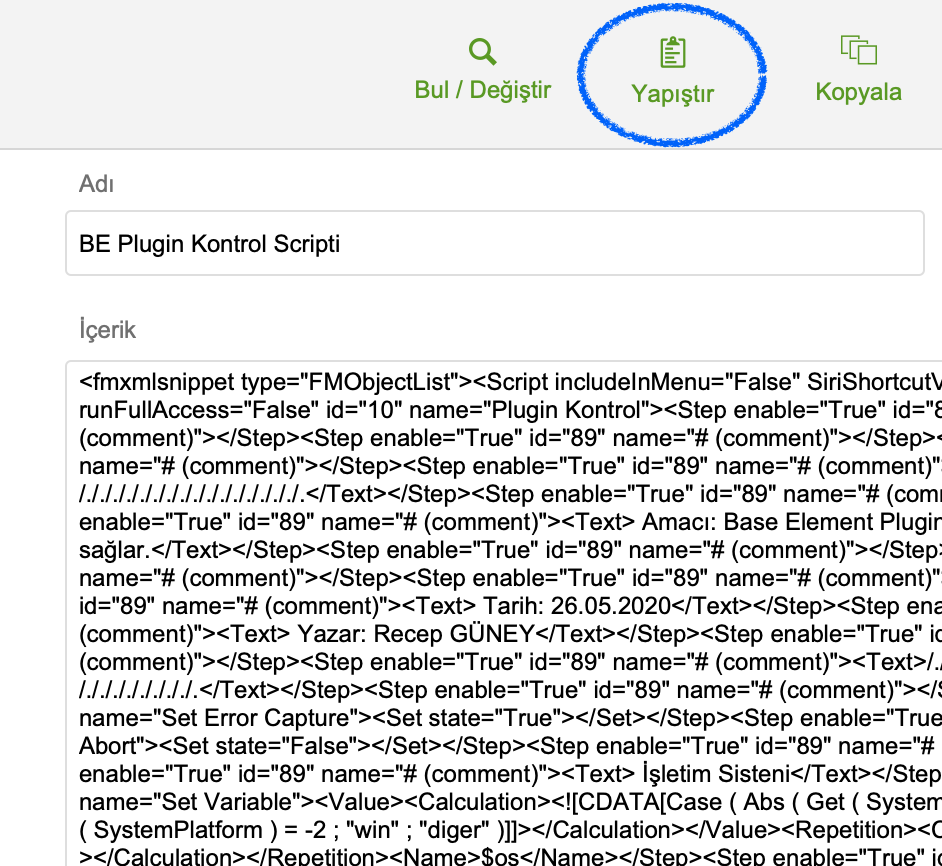
To create an example, first we copy the element we want to edit in any FileMaker file we are working on and transfer it to the panel. Then, we click the paste button in Klips and transfer the information transferred to the panel in FileMaker data format to the content section of the Klips interface.
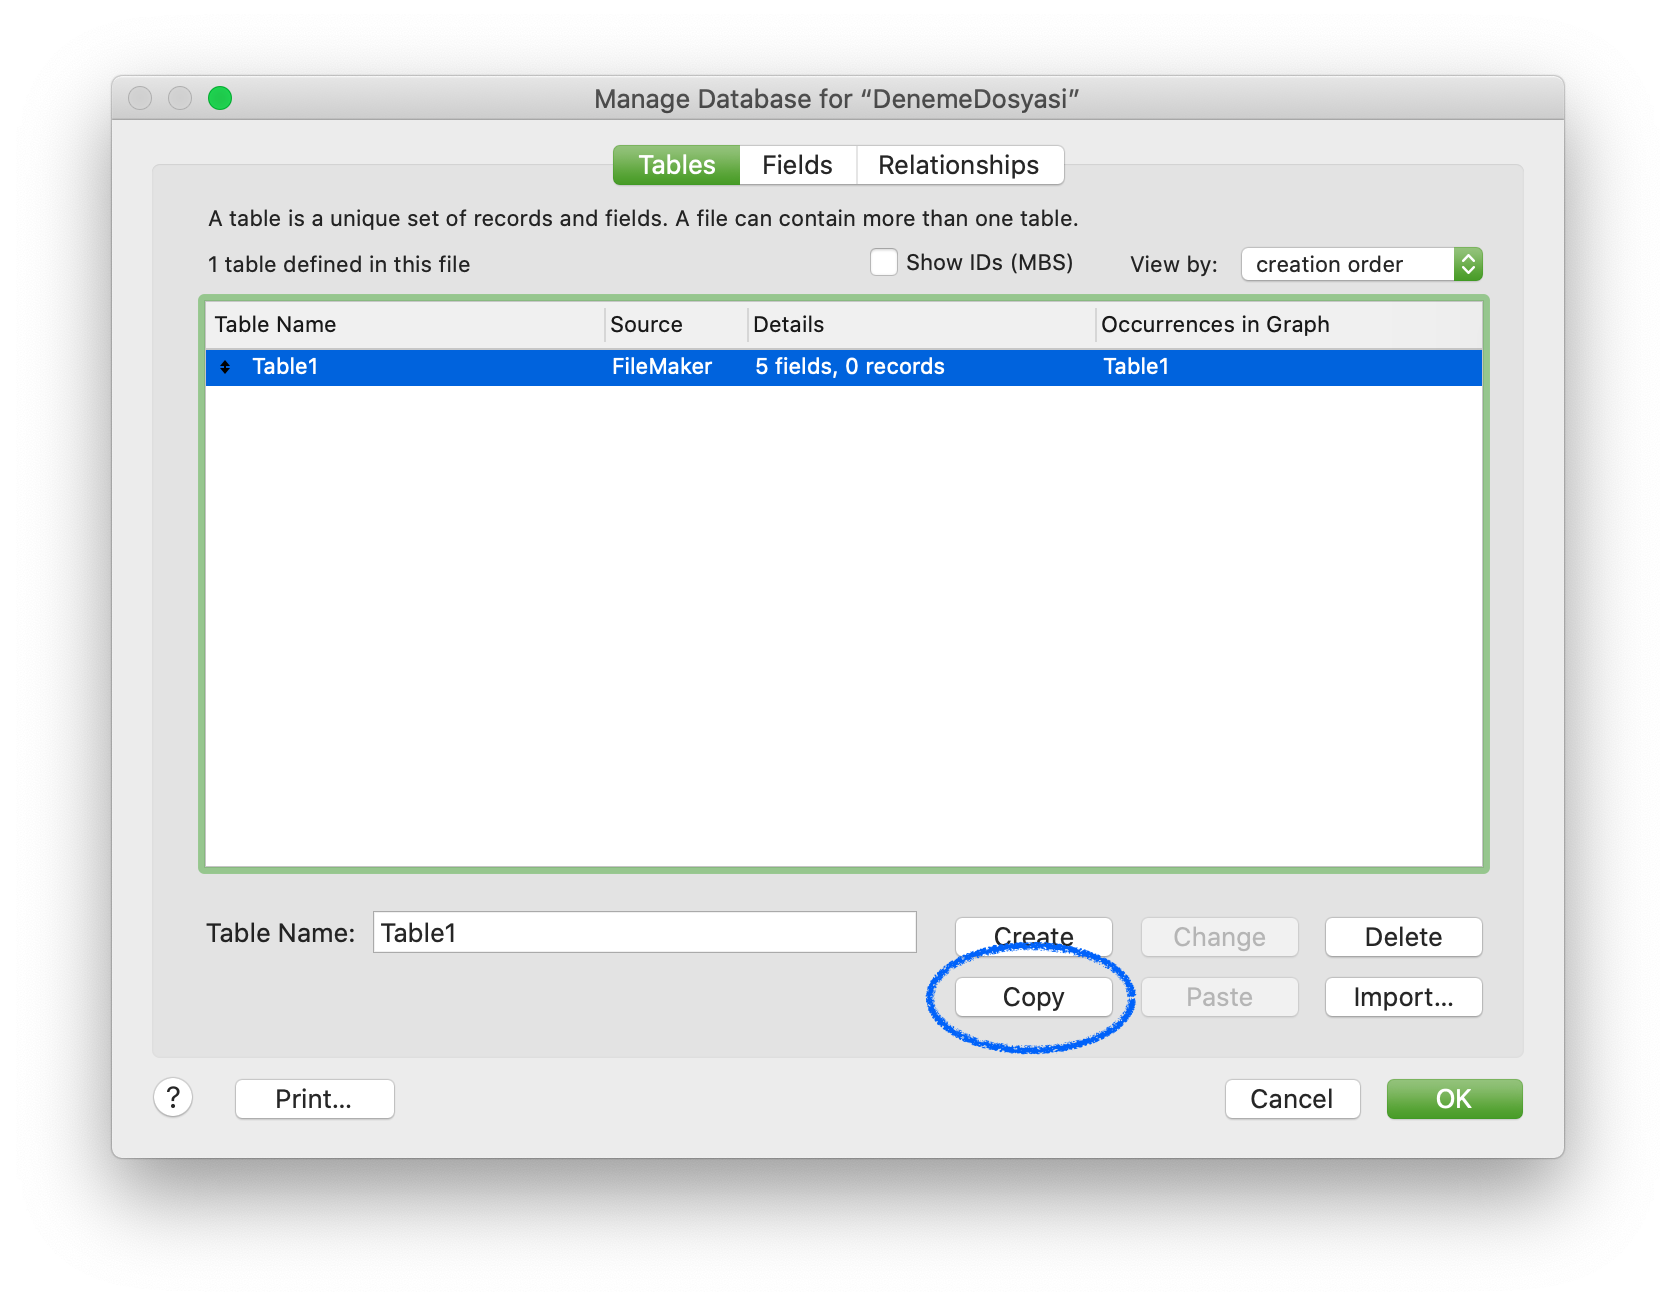
The process is this simple. To make the usage a little more concrete, let's create a simple example. After creating a table called Table1 in our working file, let's bring it to the panel with the "copy" button or the Command+C shortcut.
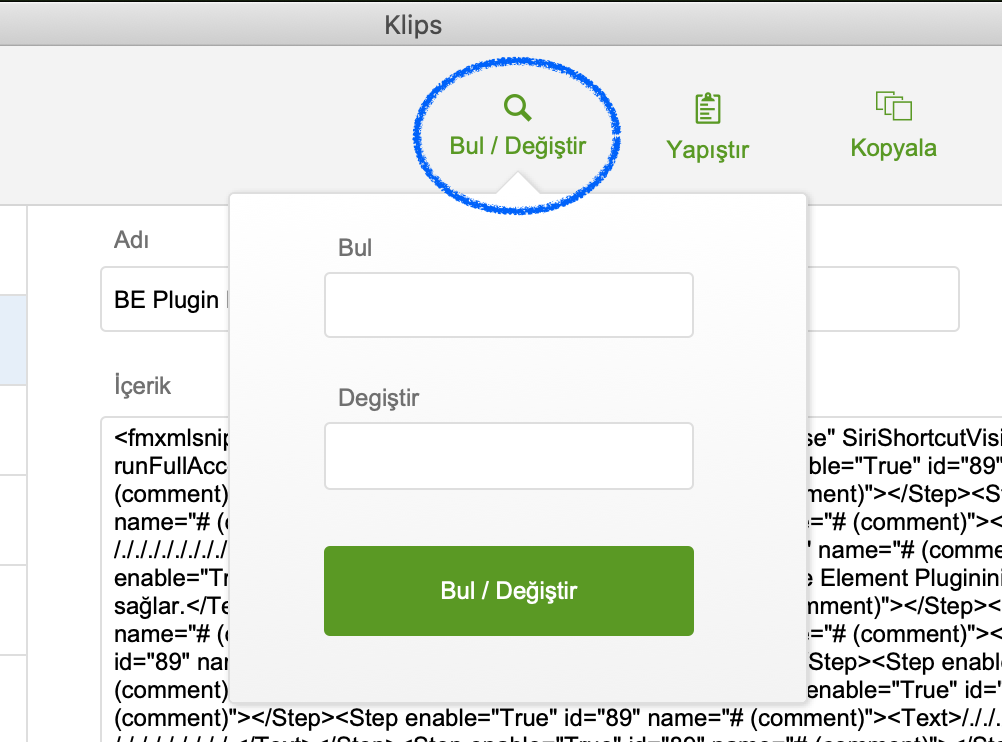
Now we can see the XML data in the panel. Let's say we want to change the name of the "PrimaryKey" field in the table to "Field1" and bring it back to the panel in this example. We can make this change directly in the XML view, and the Find/Replace section will be useful if the data we want to change is likely to be mentioned in different places.
As Cabitaş Engineering, we offer Claris FileMaker licensing, consultancy, optimization and training services. You can contact us through the contact section for our licensing and professional support services.
You can follow our social media accounts or Filemaker Support site to be informed about our technical educational meetups.
You can follow our Youtube channel to watch our previous videos.


Download link sent to your email address